Once the autumn leaves are gone, I’m ready for snow and ice. I love winter photography, the daily conditions can change so dramatically, it makes for interesting photography.
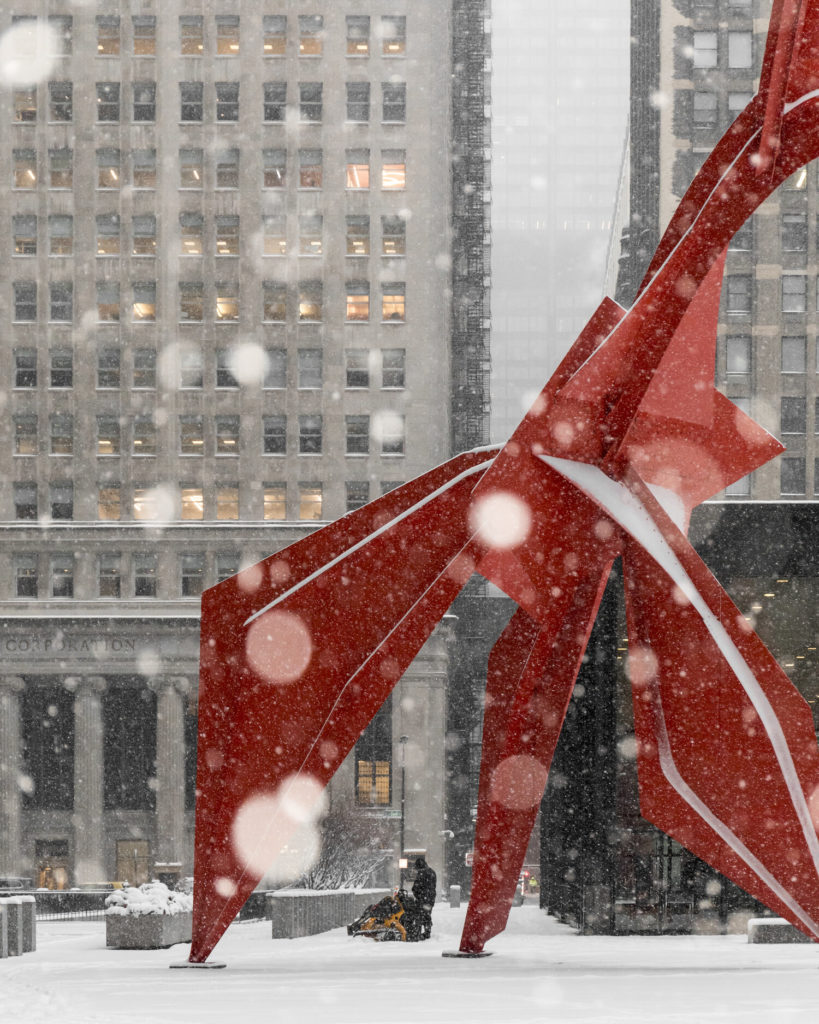
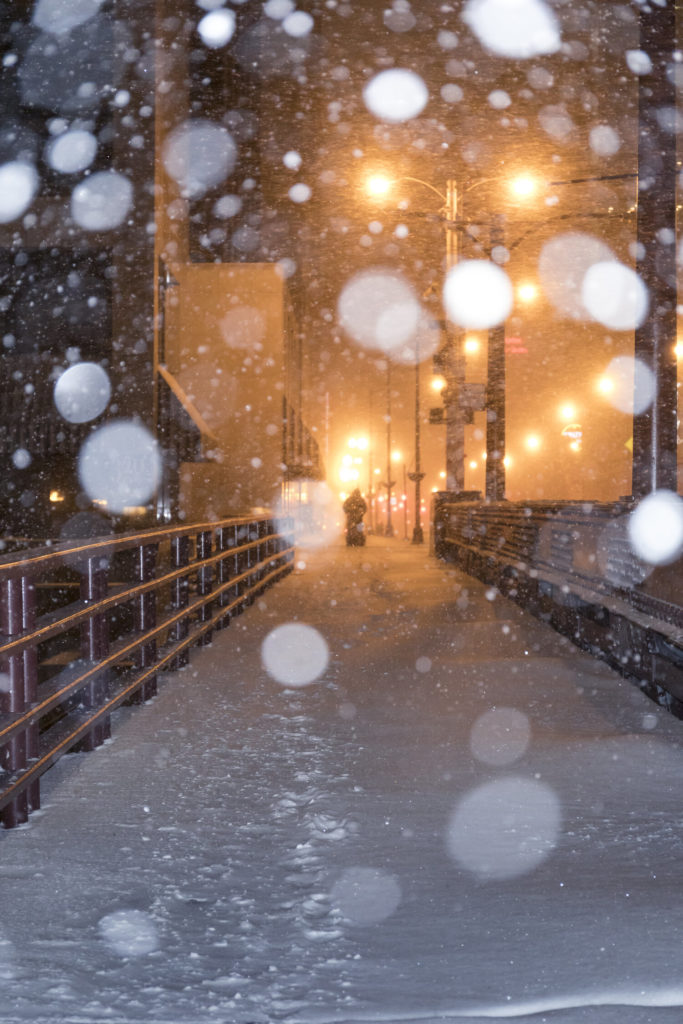
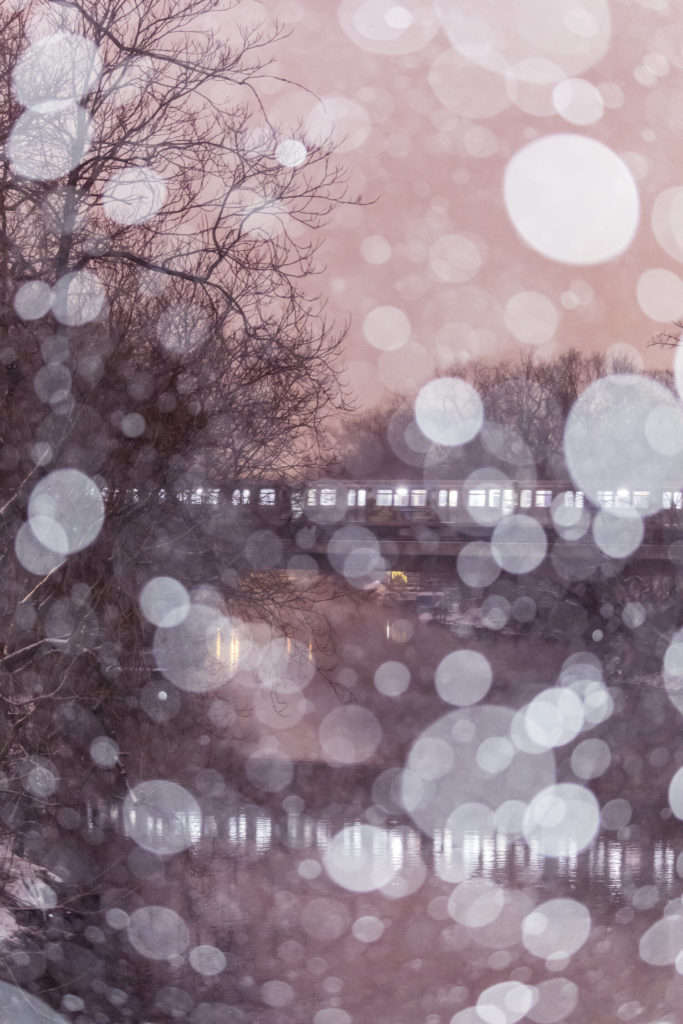
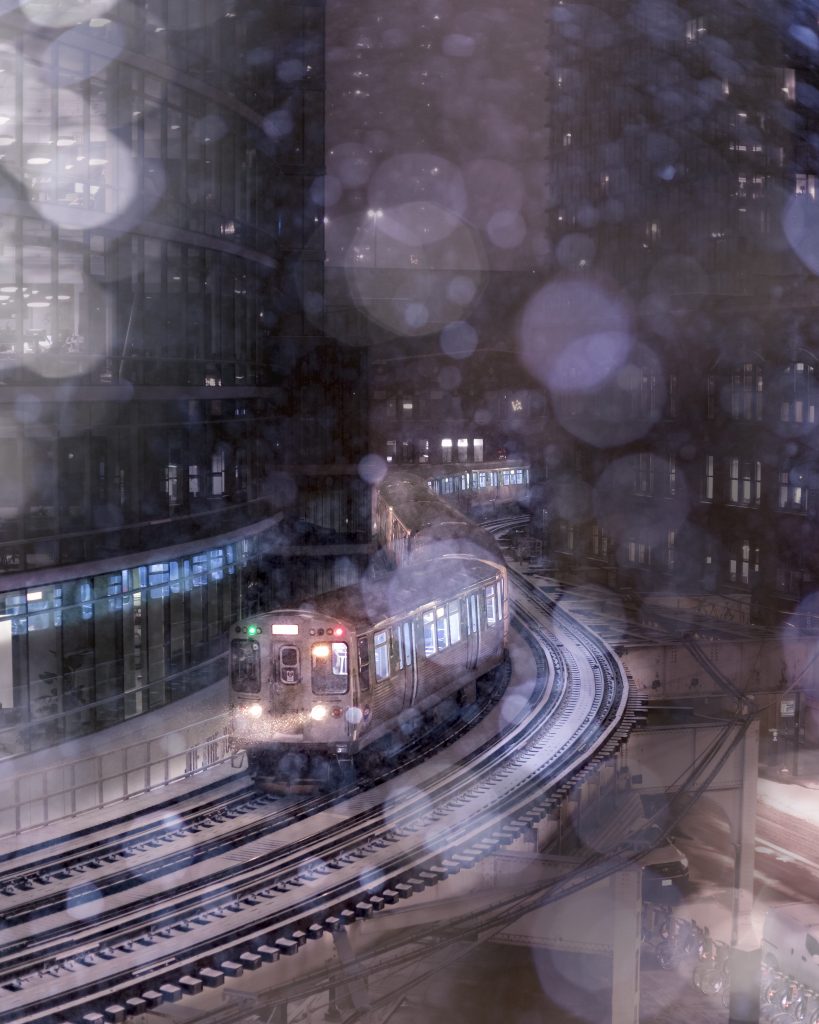
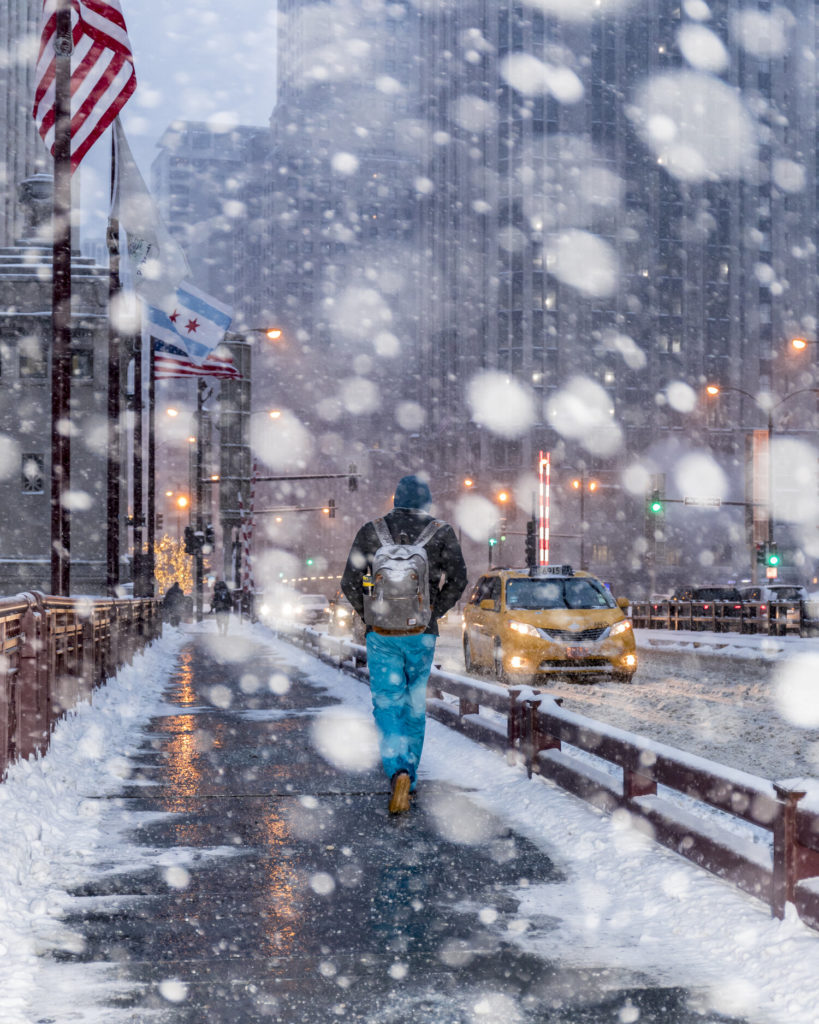
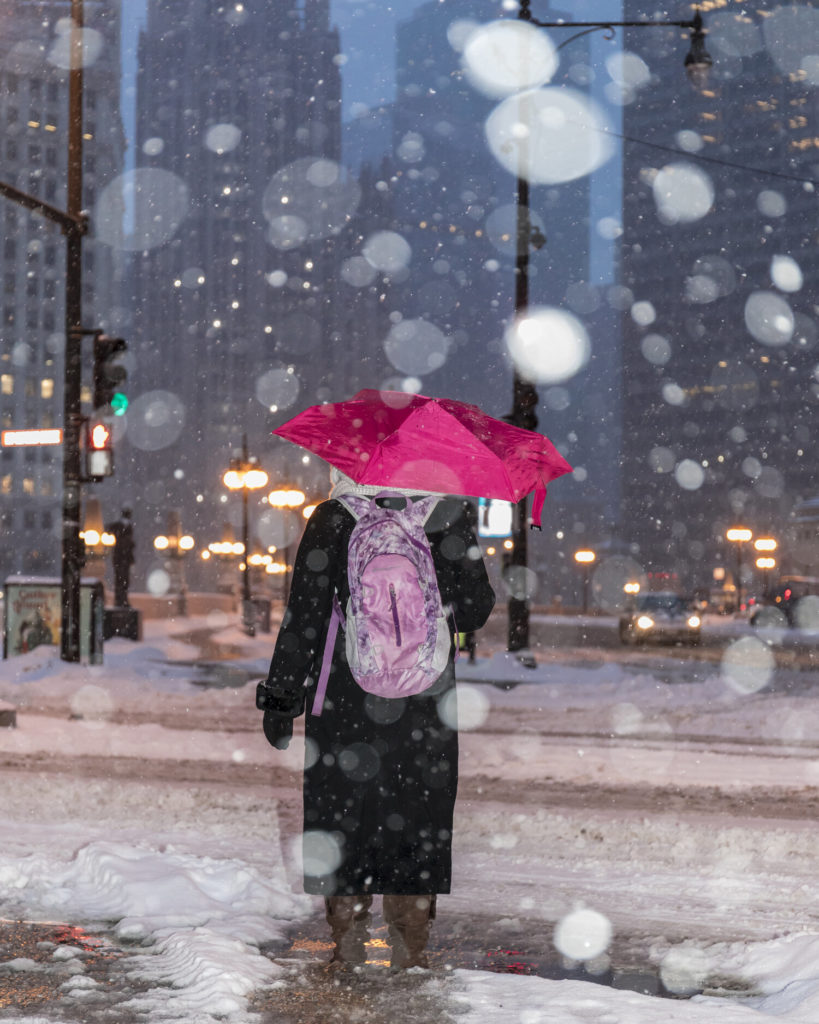
On days when it’s snowing, I love the effect of capturing bokeh snow in my photos. I light up the flakes with a speed light to create a dreamy snow globe effect.
Here’s the technique for creating this effect. We want a short depth of field to create bokeh, so shoot with a wide aperture (small f/stop). Since we are creating bokeh snow in the foreground, choose subjects that are further away- at least 5-6 feet from you. Also, using the longer end of your lens if it’s a zoom lens will also help achieve this effect.
Shoot with your speed light on manual. There’s no hard and fast rule for how much flash power you want- it changes depending on the amount and size of the snowflakes as well as how much light is in your scene. At night, less flash is needed to light the flakes because your scene is dark. During the day, you might need full power to light the flakes if it’s bright out. When it’s snowing really hard or with big snowflakes, you don’t need to light your snowflakes as much as when it’s snowing lightly. This takes a little trial and error. Over exposed snowflakes create hard white blobs in your images and underexposed snowflakes almost disappear. Between these two extremes, you can create different creative effects, play around with your flash levels to see what you like. Remember, every image is different so take several to get the one you like best
.
A couple of things to think about, you are lighting your scene with a flash and snow is reflective so it’s easy to overexpose snow in the foreground of your image. Any reflective elements in your photo will reflect the flash. Extend your speed light up so that your lens doesn’t shadow the flash.
Keeping snow off your lens can be difficult, especially on wet days. Use your lens hood and try to avoid upward facing shots and shots into the wind. Bring a chamois to clean the lens and check it frequently. A badly placed water spot or snowflake can ruin an image.
Shooting in the elements is a great way to get good images, however it’s important to protect your camera from moisture. Warmer snow days are really wet, the snow sticks then melts on your camera. There are a number of protectors you can buy to keep your camera dry and some DIY solutions like a plastic bag and a rubber band. Be careful that your bag isn’t collecting snow inside.
On a colder day, it’s easier to keep your camera dry by brushing the snow off periodically. Bring a soft cloth and a blower to remove any snow before going inside. On very cold days, your cold camera will condense warm moist air when you come inside- like an icy drink on a hot day. It’s a very good practice to put your camera, once you’ve removed any snow or ice, into a sealed bag before you come inside and don’t remove it until it’s at room temperature. The idea is to seal it in the cold dry air and let it warm up in a dry environment, so do this before you go inside. I use a waterproof stuff sack to seal my camera but a big ziplock bag will work.
Enjoy winter, it’s a great time to get some beautiful and unique images. Ordinary scenes are transformed with snow and ice. I’d love to see what you create with these techniques, share by tagging me on Instagram.