“Wow is that ceiling high and beautiful” saying to myself (as well as everyone else) as I walked through the front doors of Medinah Country Club years ago. For those that have experienced the grand entrance at Medinah Country Club, you probably said the same thing as you walked into the building. Taking it all in without moving your head in all directions is impossible…but as most photographers will say entering the building is “Wow…I got to photograph this…but how do I get the whole thing in?” Well….as Goose said to Maverick (Top Gun 1986 reference) …” We’re going vertical!”
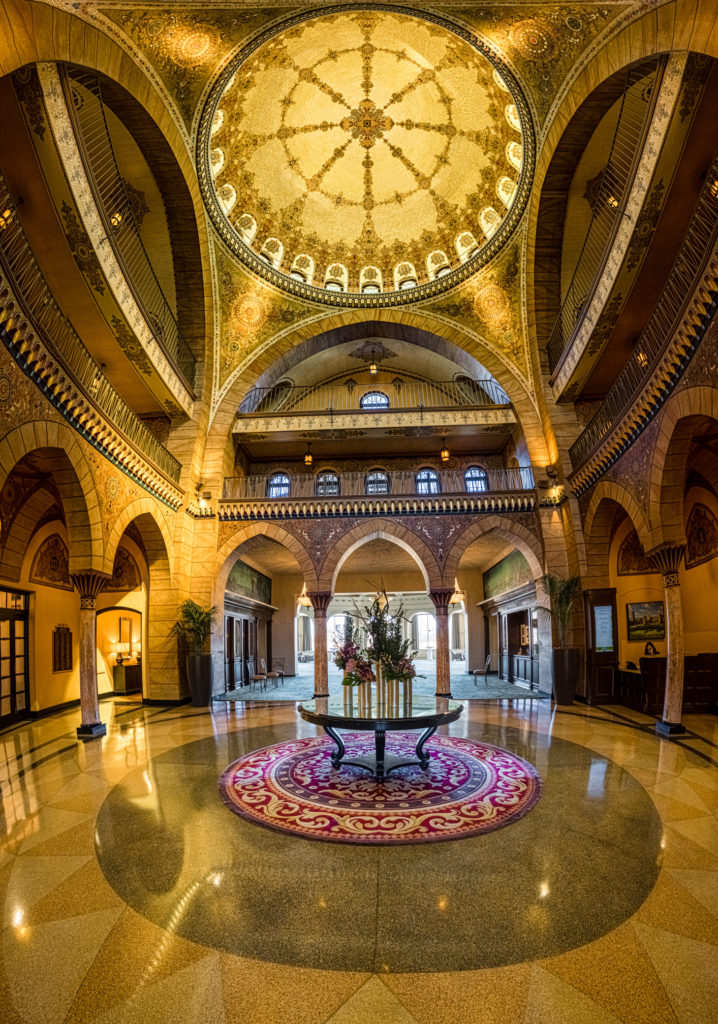
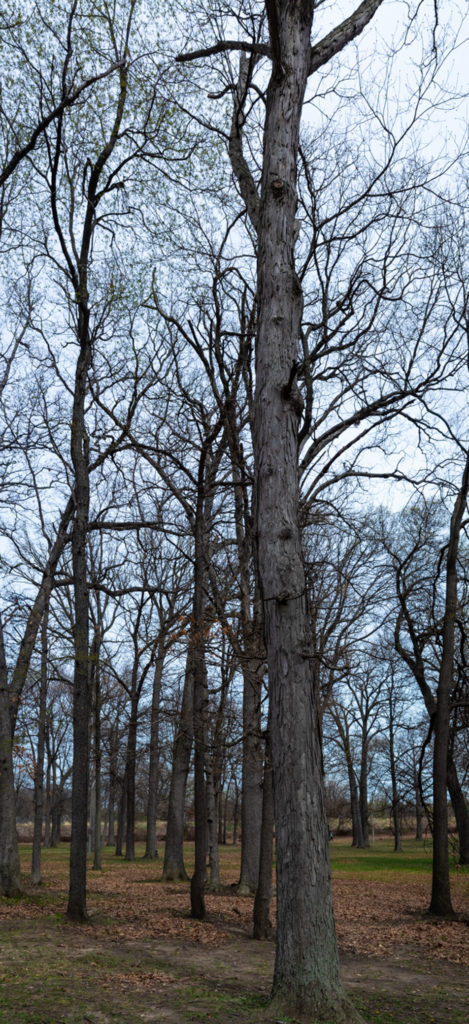
We often think of Panoramic images as wide, horizontal images capturing a whole landscape or cityscape scene but often we forget that we can also shoot a panoramic image vertically, giving a whole different perspective.
For those that are into Panoramic Photography and do it consistently with all the proper equipment, the following tips are probably not for you. For the rest of us, when we come across a scene like the entrance to Medinah Country Club, here are a few tips to capture that scene.
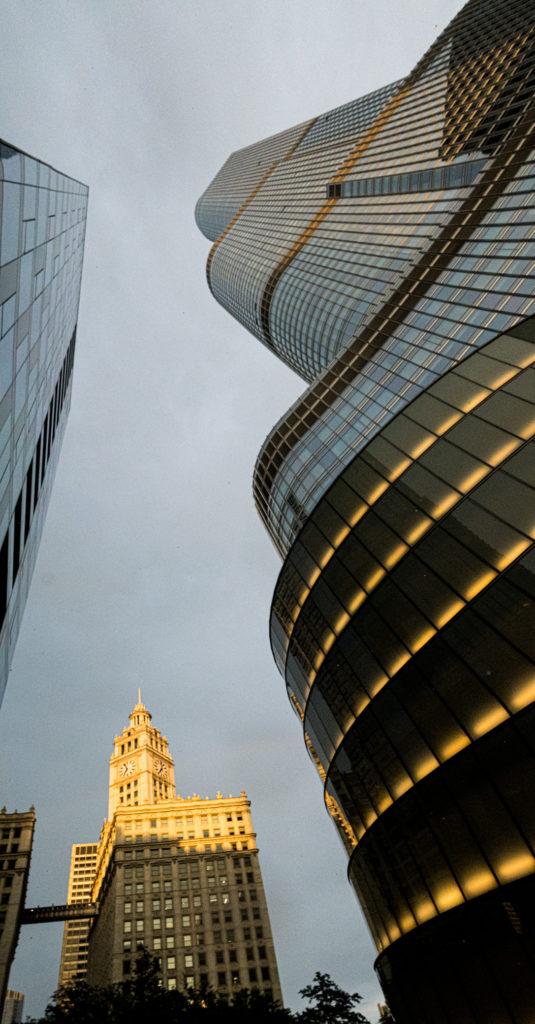
First, I will typically photograph in Aperture Priority because as you rotate the camera vertically, your exposure is certainly going to change. All of the images posted in this blog are hand-held or from a drone, stitched images. Holding the camera in the landscape orientation (how you would normally hold the camera), and using the LCD display to frame the first base shot (lowest portion) of the image, take the first image. Rather than rotating the camera vertically with your waist or your arms, you want to imagine that there is a steel rod going horizontally right through your camera. Pivot the camera, on that imaginary rod, and overlap your base image by at least 30%…take the second shot. Continuing to pivot vertically and overlapping by at least 30%, complete the entire scene PLUS take one more beyond. There will certainly be some warping involved, so we’ll call that last one, insurance so that you know you’re not going to cut off anything important when processing.
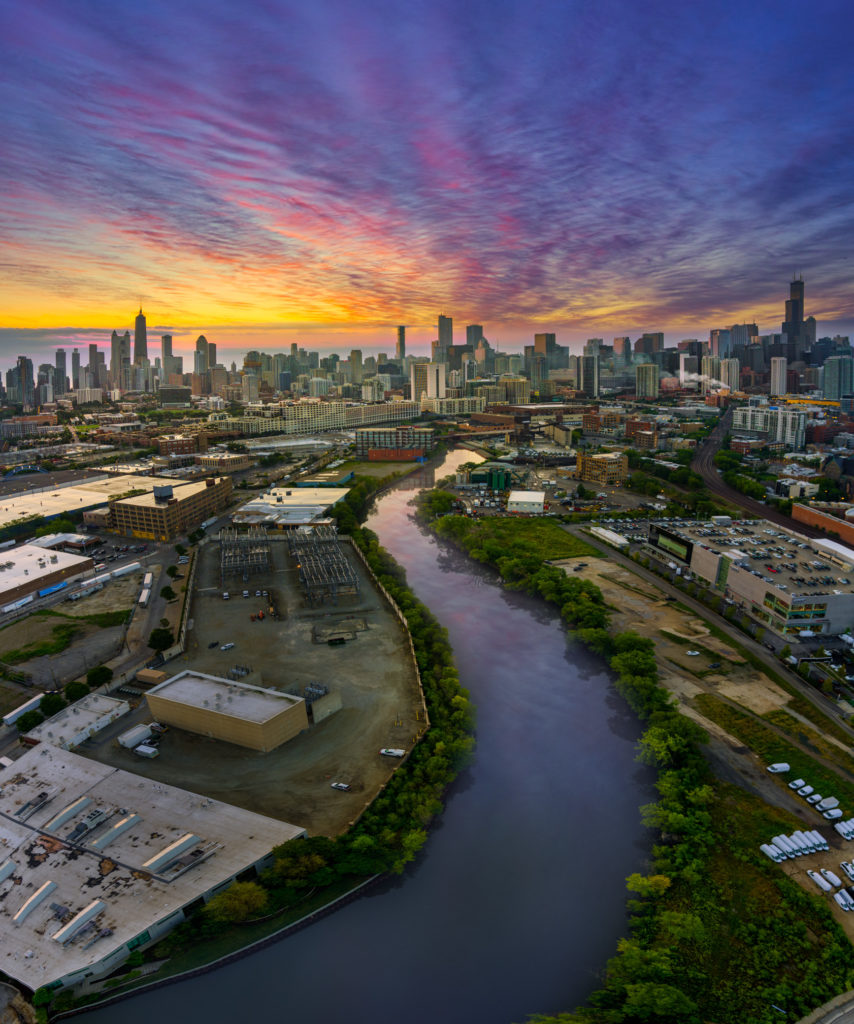
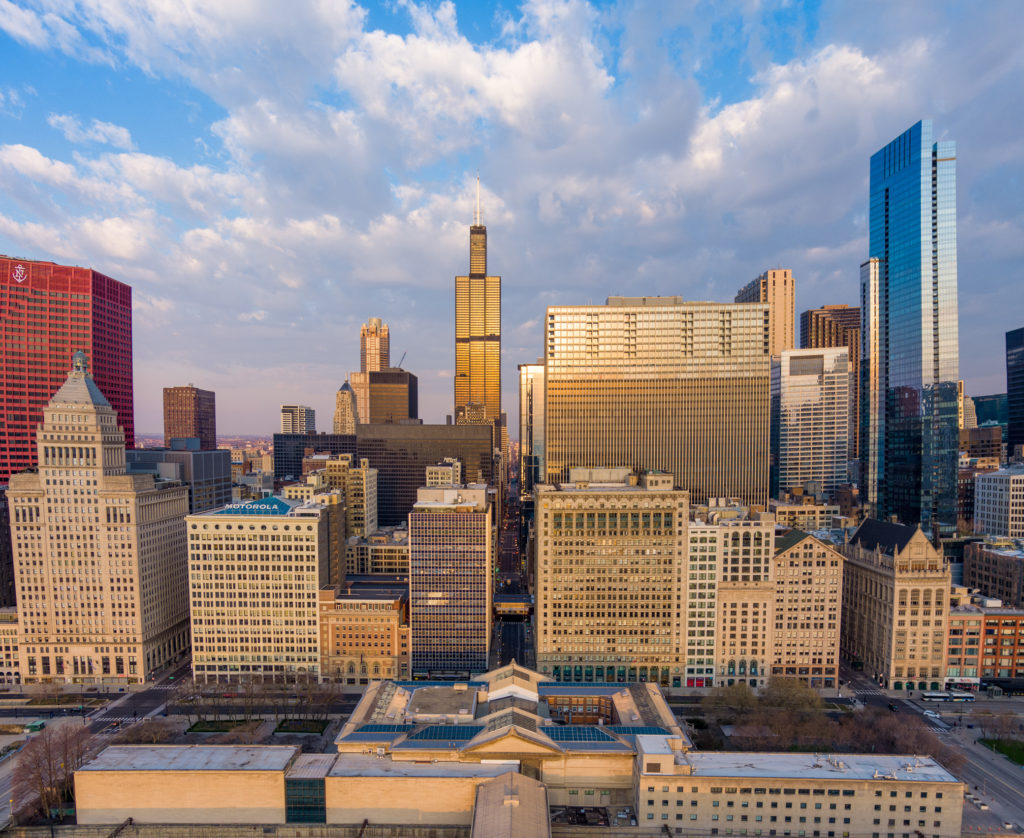
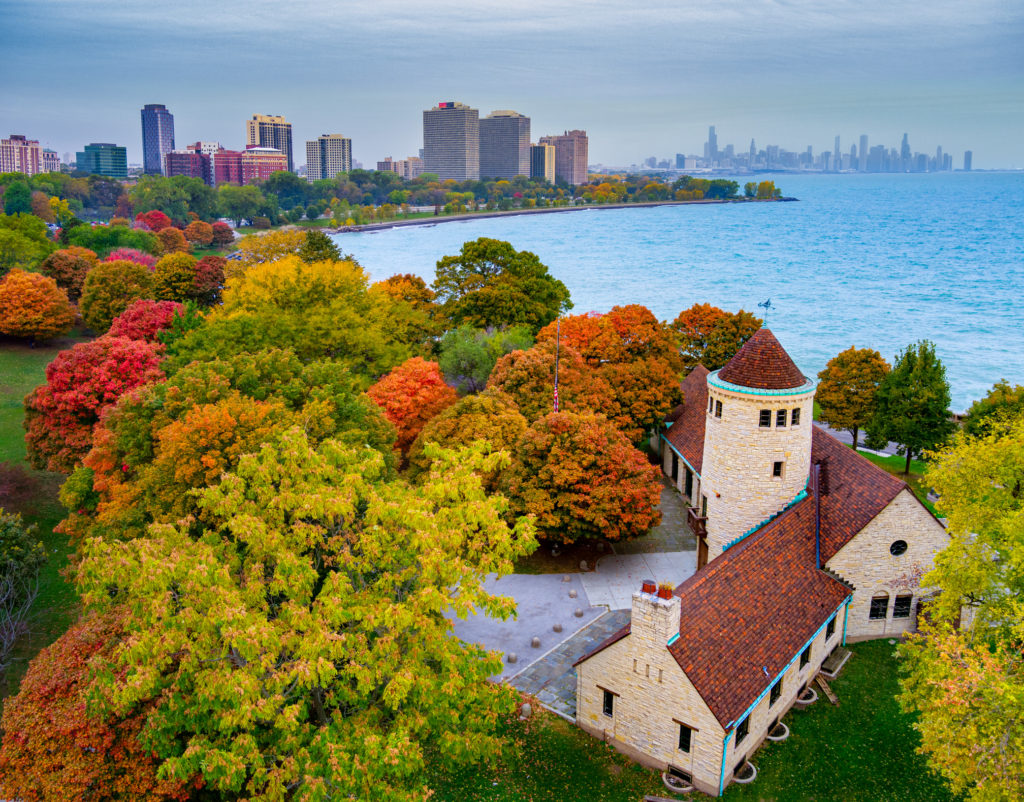
This process also works with Drone Photography as well. When you want to get more in your foreground than the drone lens can give you, do a vertical panoramic. While hovering, rotate your gimbal down just past the area (knowing that you’ll have to do some cropping), and begin your series. I shoot with auto exposure bracketing (another blog coming) and then rotate the gimbal up, making sure to overlap your previous frame by 30% (the grid lines are awesome for this). Continue to rotate up and shoot until you have the entire scene captured.
Stitching and processing the images in Adobe Lightroom is a breeze as well!
In LR, select all photos in the vertical series, Photos -> Merge -> HDR Pano. Once the preview appears, you’ll have to rotate through the perspective choices to get the look you wanted.

To learn more about photography join us at @chicagophotoclasses.