
For the past decade, my wife has been deeply immersed in the art of glassblowing. It’s more than just a hobby for her; she calls it her “therapy.” Her creative sanctuary is Ignite Glass Studio, located at 401 N. Armour Street in Chicago. Once a month, on the first Friday, the studio hosts “Fired-Up Fridays,” offering the public a chance to witness the mesmerizing craft of glassblowing in action.
I make it a point to attend these events regularly, not just for the spectacular displays of artistry but also to hone my photographic skills. Photographing glassblowing and flame working is no small feat. The dynamic environment—from the deep shadows of the tools to the fiery glow of molten glass—is both challenging and rewarding to capture through the lens.
Surveying the Scene
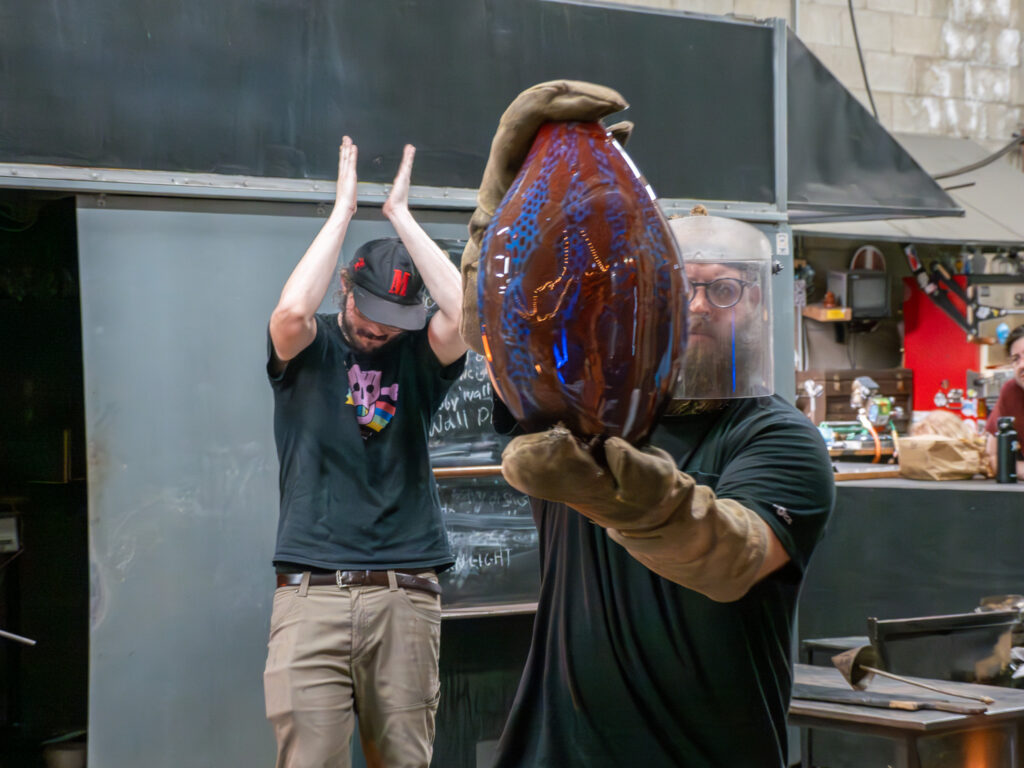
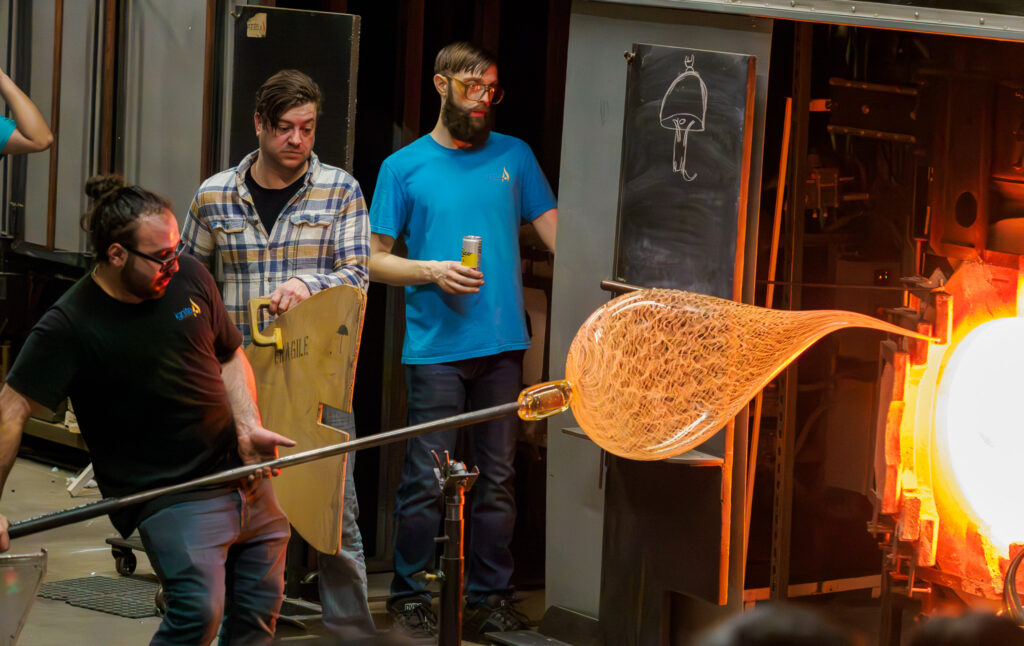
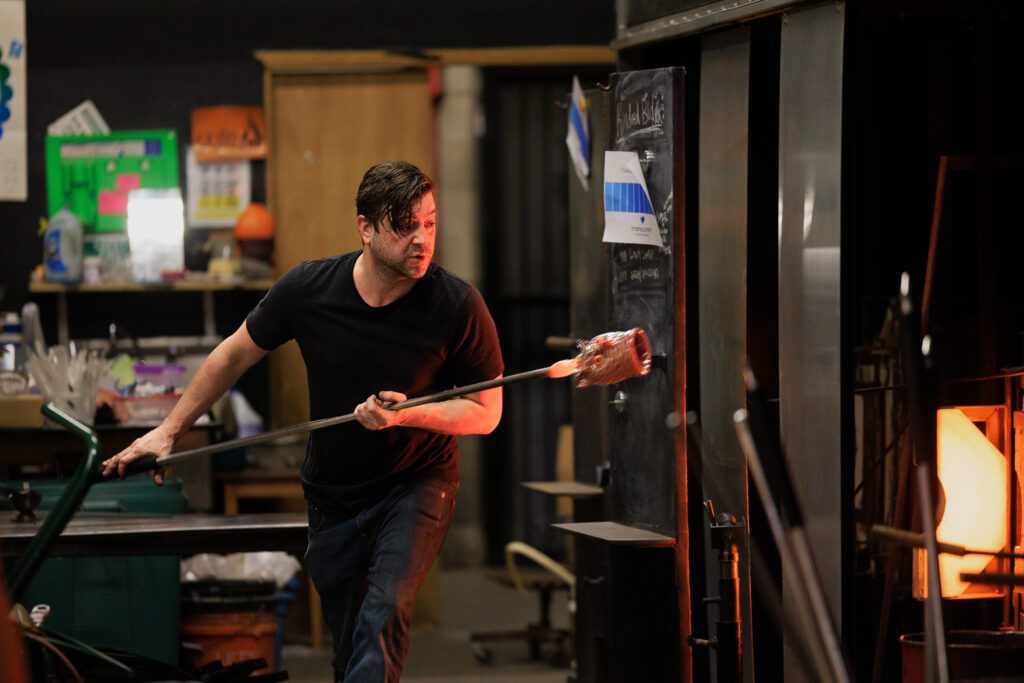
Stepping into a glassblowing studio feels like entering a realm of organized chaos. Glassblowers position themselves near the furnaces, where they need to repeatedly reheat their work to maintain a workable temperature. This setup makes sense for the artists, but it creates unique challenges for photographers. Finding a vantage point to capture the intricacies of the craft without obstructing the artists or staff is a delicate dance.
Lighting is another major hurdle. The studio’s fluorescent lights mix with the intense glow of the furnaces and molten glass, creating a complex environment for photography. Shooting in such low and high-contrast lighting meant pushing my ISO settings higher than usual, ranging between 3200 and 8000. I also knew that white balance would need adjusting during post-processing to counteract the mixed lighting.
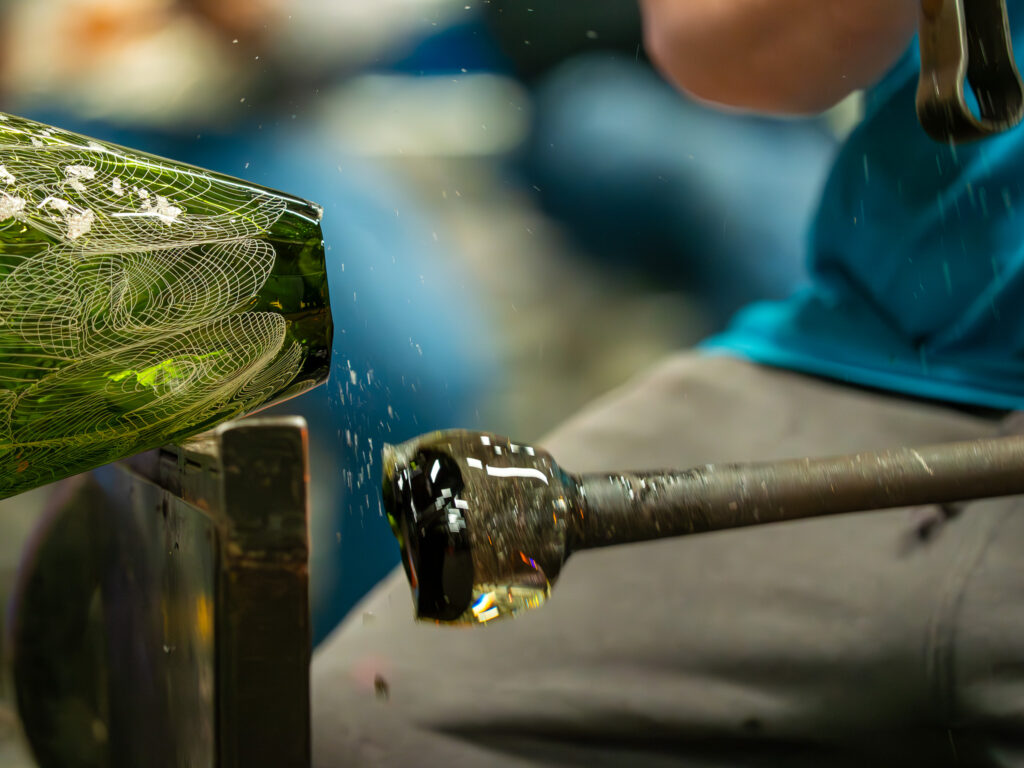
The Nonstop Dance of Glassworking
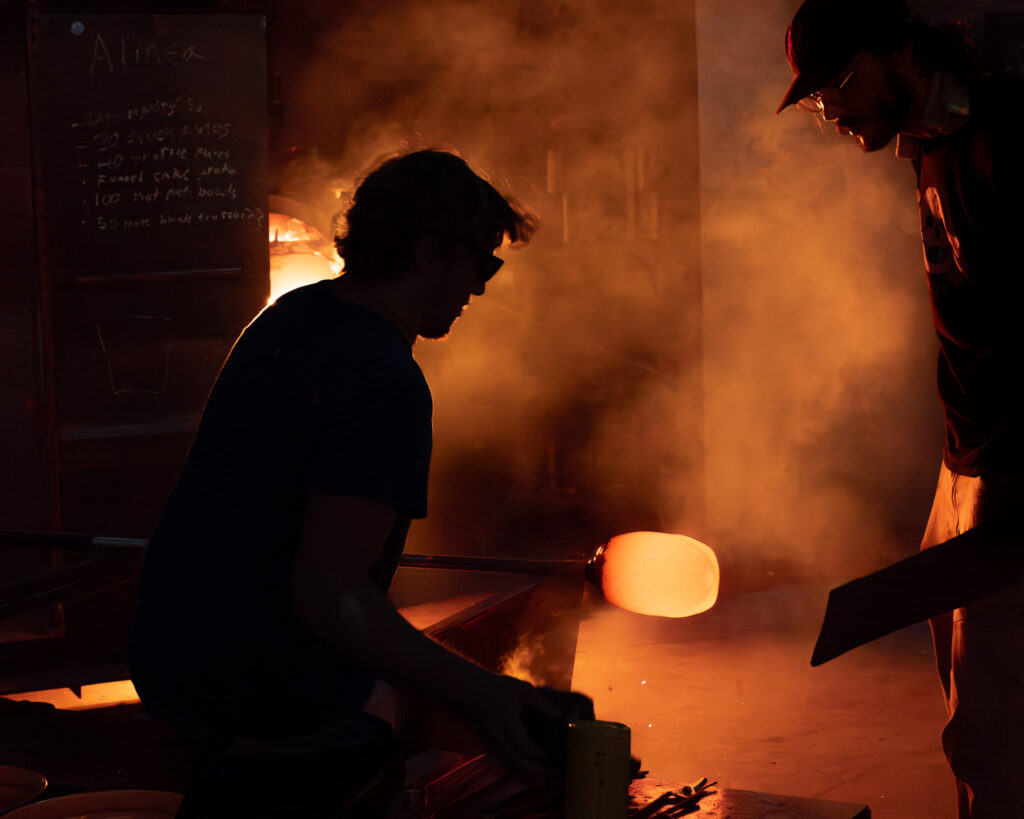
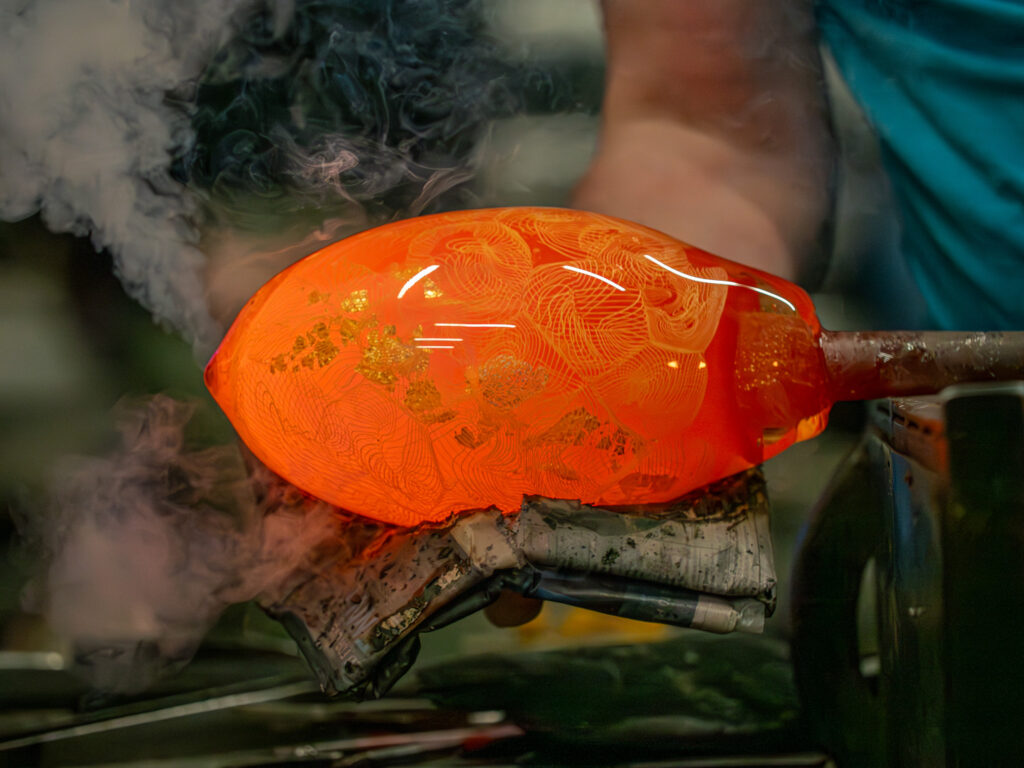
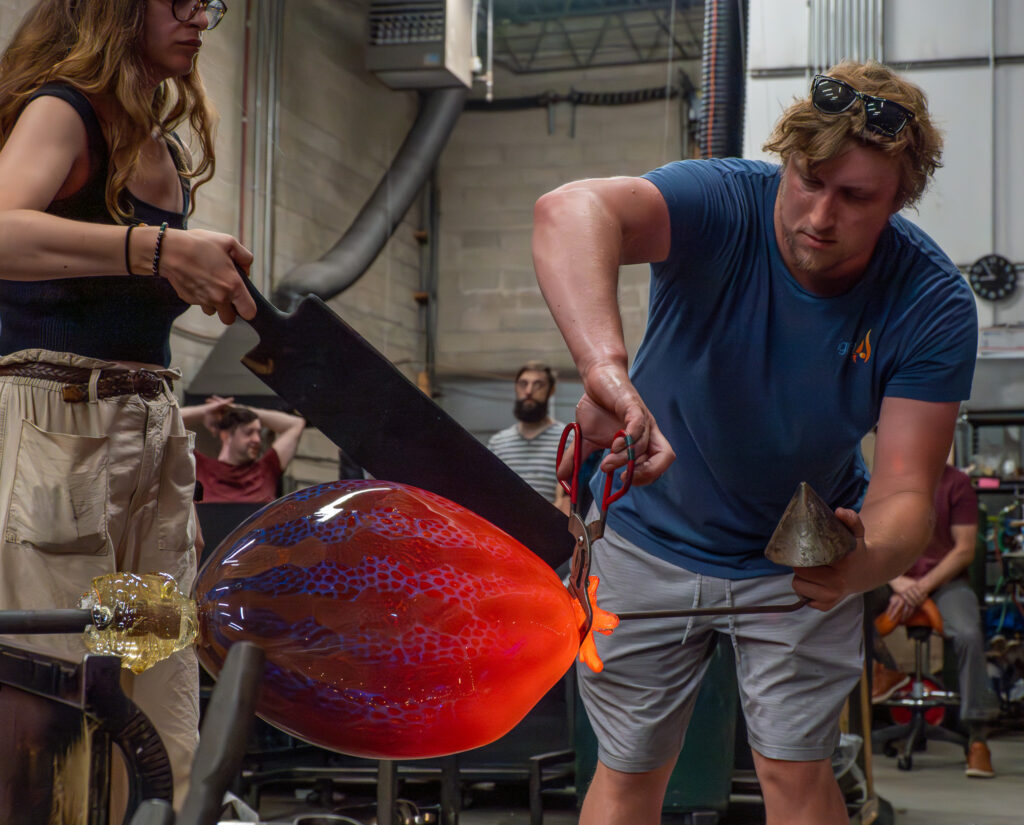
If there’s one thing you need to know about glassblowing, it’s this: once the process begins, there’s no hitting pause. The molten glass must remain at approximately 2,000 degrees Fahrenheit to stay workable. Take it out of the heat for too long, and it cools too quickly, risking shattering.
Watching the artists work is like witnessing a perfectly choreographed dance. Every movement is deliberate yet swift. They have, at most, a minute between pulls, twists, cuts, and shapings before returning the glass to the furnace. Capturing these fleeting moments requires not only quick reflexes but also an intuitive understanding of the flow of their work.
Mastering Exposure with both ETTR and ETTL
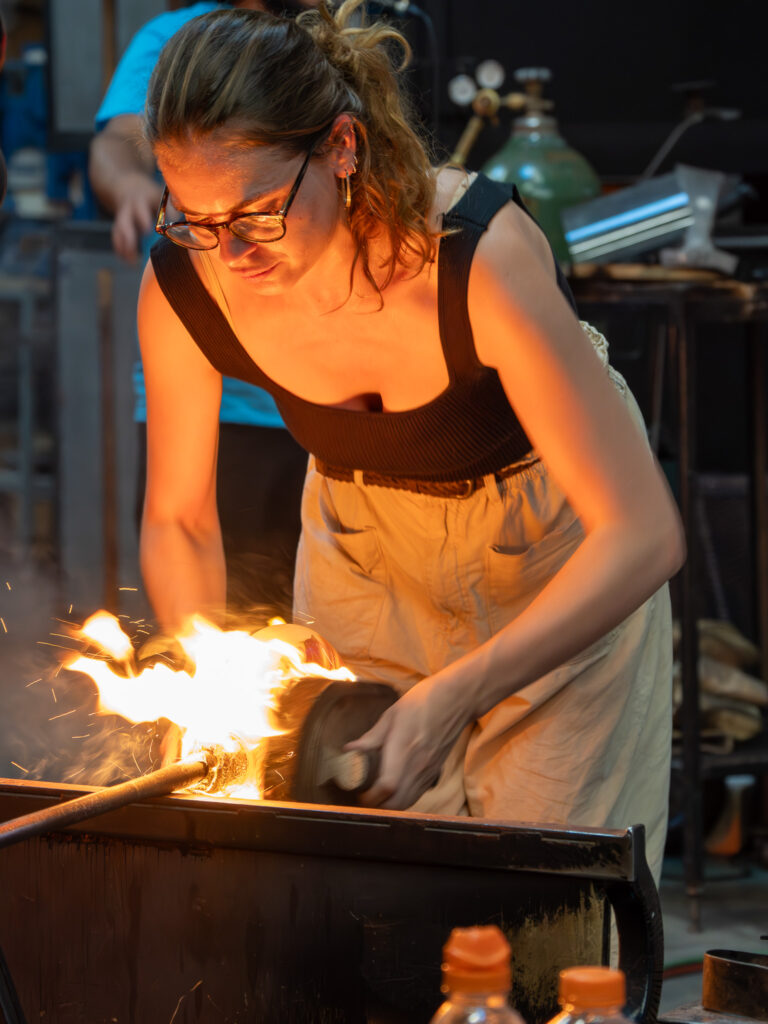
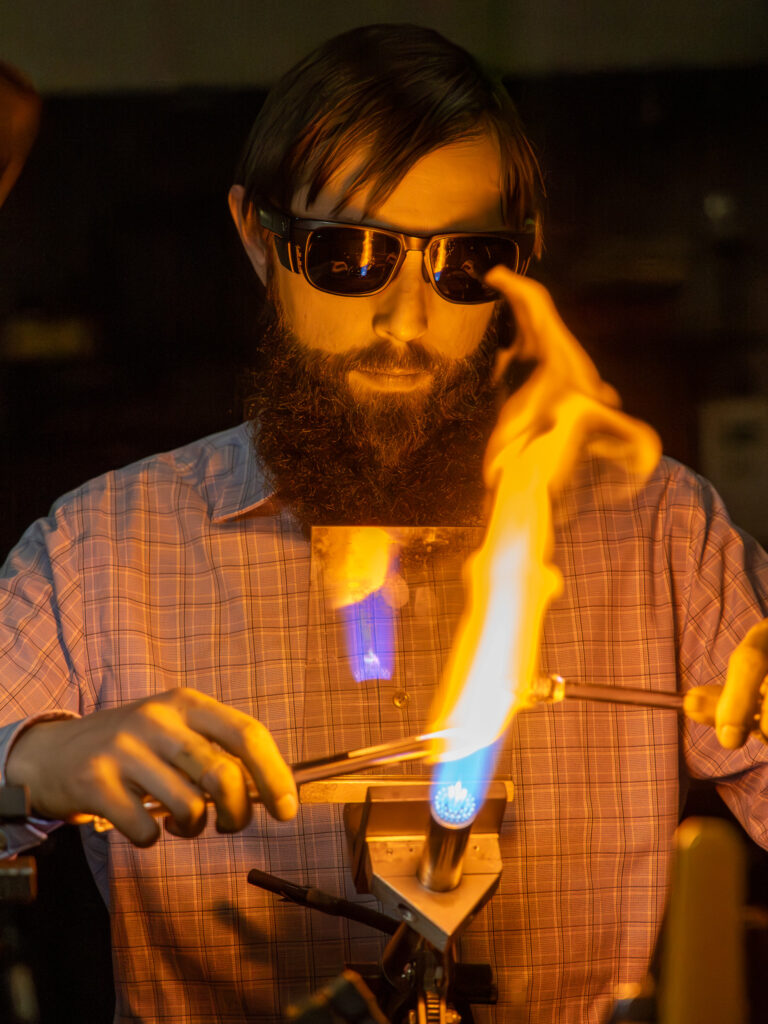
Photographing glassblowing is akin to shooting a fast-paced sporting event. The artists move with startling speed as they manipulate their fiery medium, making precise exposure settings critical. To achieve the best results, I employed a technique known as Exposing To The Right (ETTR).

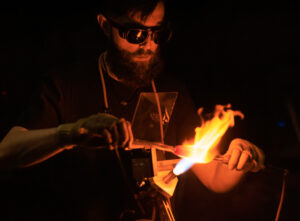
ETTR involves slightly overexposing the image by one to two stops. This approach reduces digital noise, which tends to be most noticeable in the shadowed areas of an image. By overexposing the RAW file, you minimize shadows and, consequently, noise. Later, during post-processing, you can reduce the exposure back to the correct level without introducing noise. It’s a technique I often recommend to students in our Photo II and Photo III classes and one that proved invaluable for capturing glassblowing. I use this technique when I want to capture the artist’s activity or emotion. However, when it comes to molten glass and torches, I will reverse the above technique and photograph Exposing to the Left (ETTL).
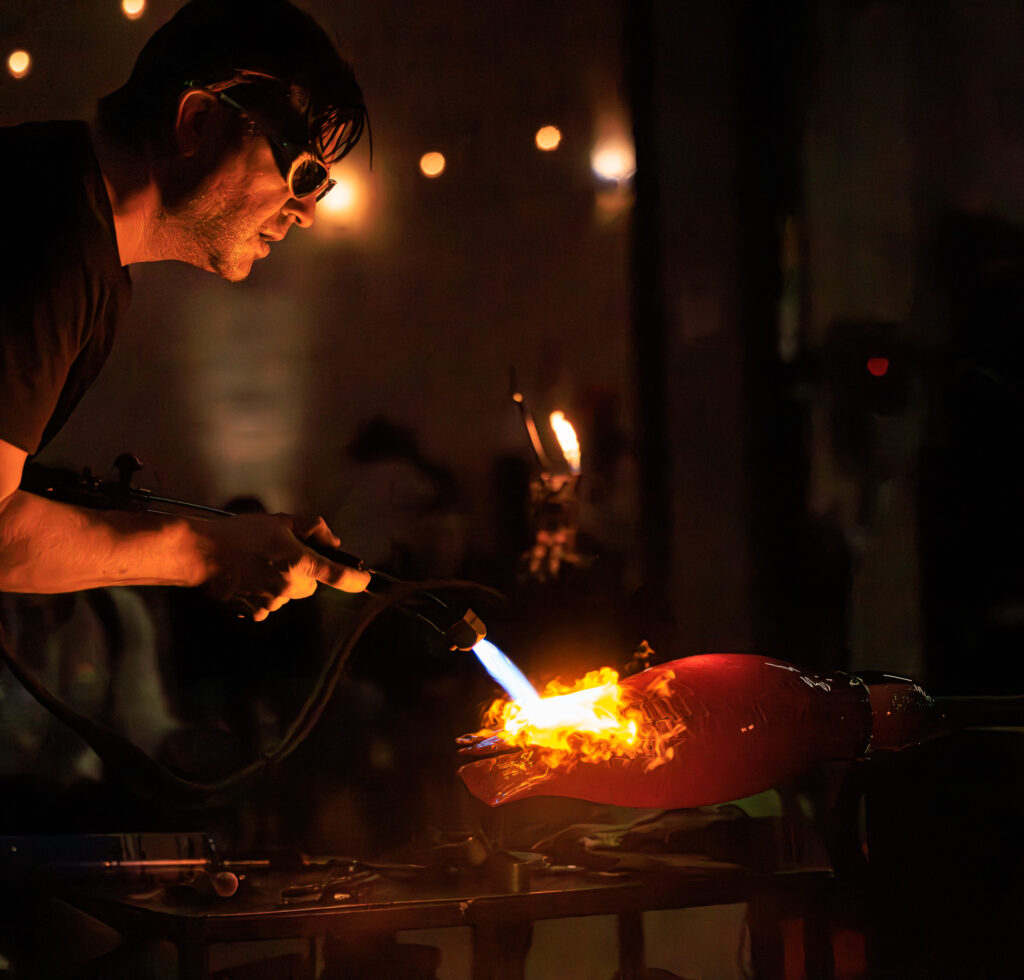
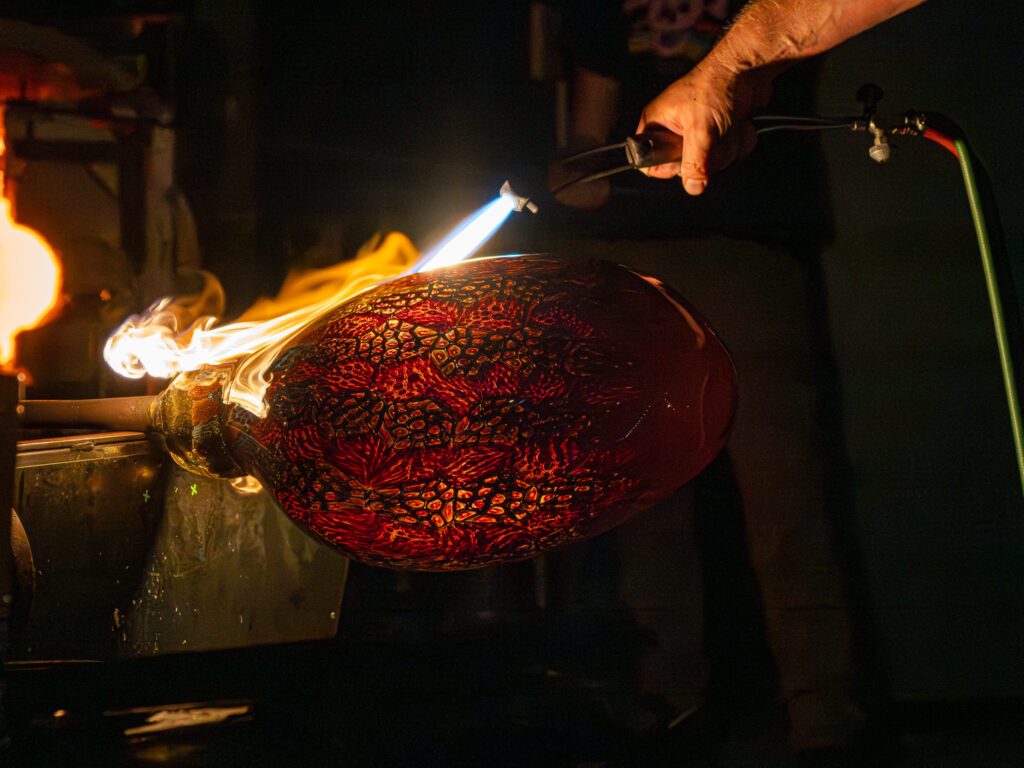
With the bright molten glass, there are certainly beautiful details that may be missed if over-exposed or clipping the highlights. If I am photographing hot glass or flames, I am underexposing by 2 or 3 stops (ETTL) sometimes up to 5 stops in order to still maintain detail or texture of the glass and flames.
Navigating Mixed Lighting with White Balance Adjustments
One of the most significant challenges in photographing glassblowing is dealing with mixed lighting. The clash between fluorescent overhead lights and the warm glow of molten glass creates an environment where accurate colors can be difficult to achieve. Since asking the artist to hold up a gray card wasn’t an option, I focused on photographing color-neutral elements, like the studio tools, to balance the color temperature in post-processing.
Using Adobe Lightroom’s White Balance Eyedropper Tool, I adjusted the temperature and tint to bring out the truest colors. I found that using the gray tools in the scene provided the most reliable reference point for achieving natural, balanced tones.
Final Reflections
Photographing glassblowing is both exhilarating and challenging. The dynamic environment forces you to think quickly and adapt to changing conditions. As I’ve spent more time capturing this art form, I’ve gained a profound appreciation for the skill, precision, and creativity that glassblowing demands.
Like the glass itself, the process is a delicate balance between fragility and strength. It requires the artist to focus entirely on the moment, shaping molten material into stunning works of art.
Through my lens, I’ve come to see why my wife calls this her therapy. Watching her transform a glowing mass into something tangible and beautiful is a reminder of the meditative power of creation. It’s more than just art; it’s a testament to patience, precision, and passion.
If you’re looking for a rewarding challenge as a photographer, I highly recommend visiting a glassblowing studio. Not only will you walk away with striking images, but you’ll also gain a newfound respect for this incredible craft.